A Guide to Setup Windows Subsystem for Linux (WSL) on Windows 10
 Windows Subsystem for Linux
What comes to your mind when someone asks you to work with Linux and Windows simultaneously? Mounting a virtual machine or installing a Dual-Boot with the two operating systems is what we always think of. Thanks to Microsoft we can live the fairytale now : install Linux on Windows 10. This is Windows Subsystem for Linux (WSL).
WSL allows users to run a GNU/Linux environment directly on Windows, unaltered and fully integrated with your Windows file system and favorite applications like Visual Studio Code, and most command-line tools, utilities, and programs. WSL makes it so much simpler and more convenient to run a Linux system alongside Windows.
Installing WSL on Windows 10
Prerequisites
To have WSL 2, you must be running Windows 10.
For x64 systems: Version 1903 or higher, with Build 18362 or higher.
For ARM64 systems: Version 2004 or higher, with Build 19041 or higher.
Builds lower than 18362 do not support WSL 2. Use the Windows Update Assistant to update your version of Windows.
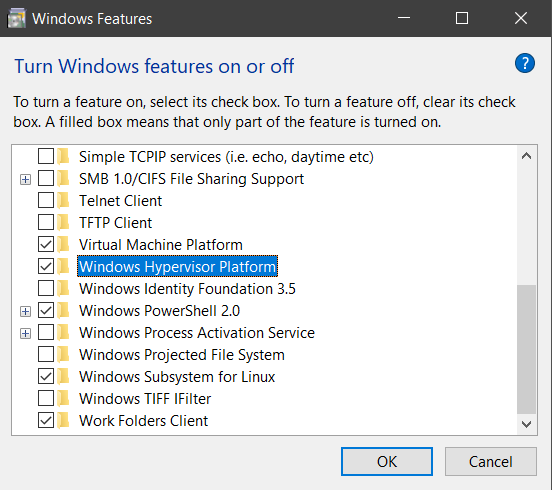
Hyper-V and WSL must be turned on in the Windows Features
- Virtualization must be enabled in system BIOS.
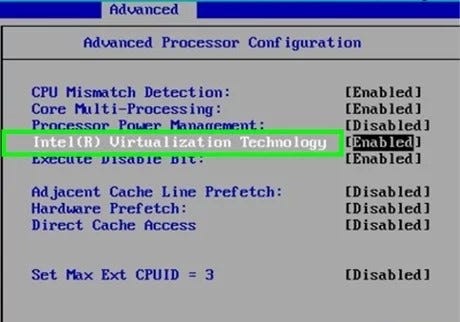
Not having one of these may lead to errors when we install Ubuntu.
Enable the Windows Subsystem for Linux
Start the Power Shell as administrator and run :
dism.exe /online /enable-feature /featurename:Microsoft-Windows-Subsystem-Linux /all /norestart
Enable Virtual Machine feature
Start the Power Shell as administrator and run :
dism.exe /online /enable-feature /featurename:VirtualMachinePlatform /all /norestart
WSL 1 is installed. Restart your machine.
Download the Linux kernel update package
Download the Linux kernel update package .
Run the update package downloaded in the previous step.
Set WSL2 the default version
Open PowerShell and run this command :
wsl --set-default-version 2
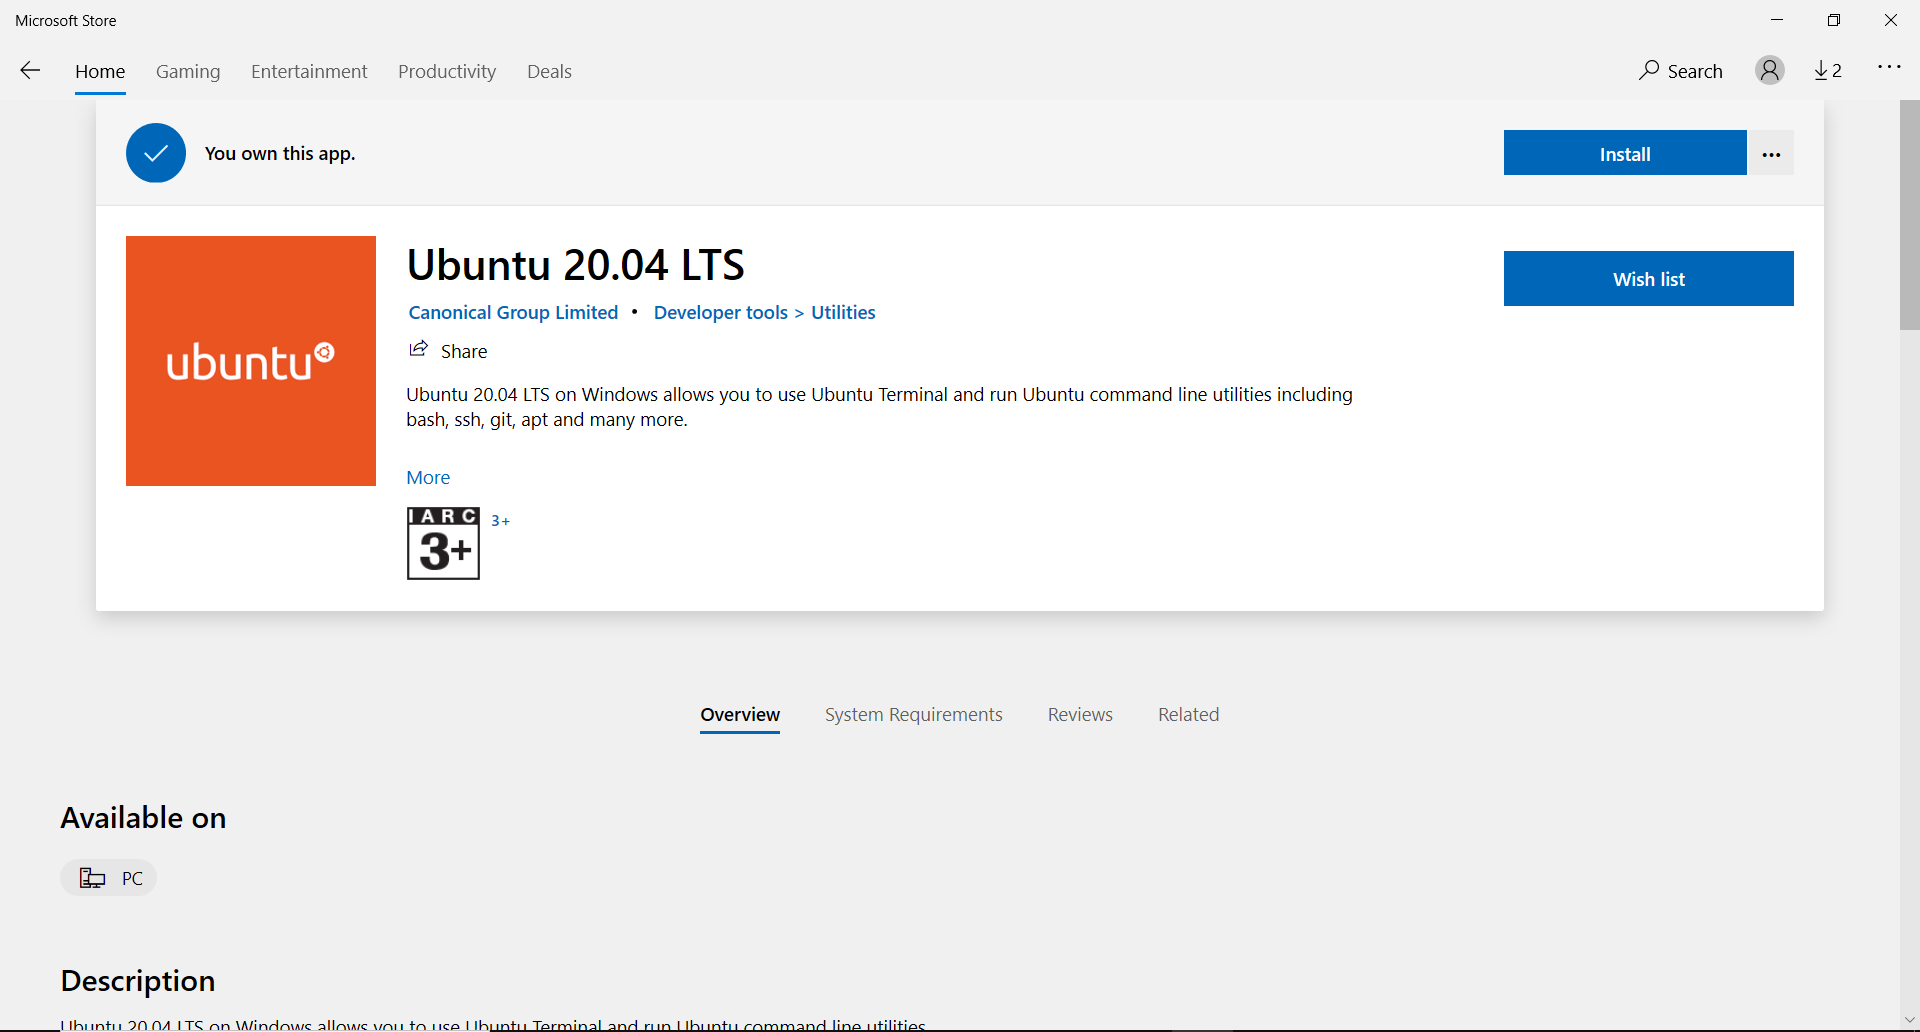
Install the latest Linux distribution
Head to the Microsoft app store and install the latest version of Ubuntu- 20.04.
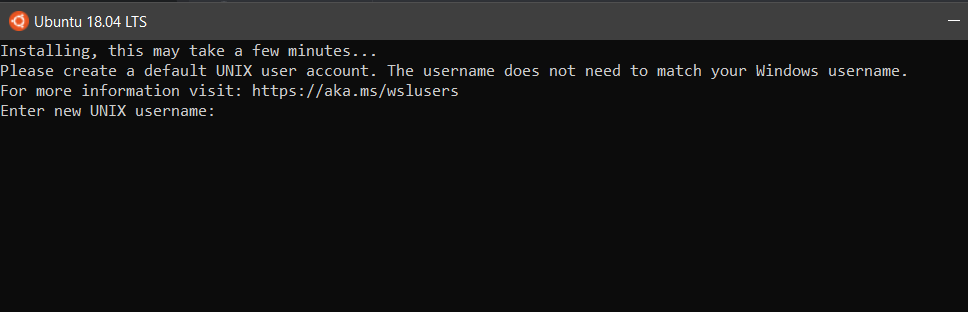
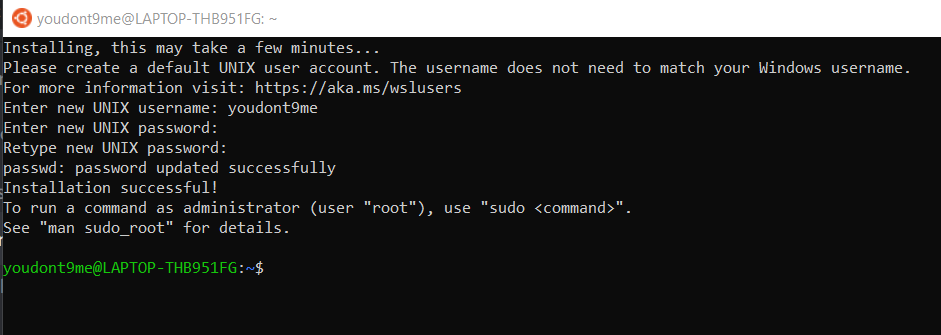
After installation, once you launch Ubuntu it asks you to enter a UNIX username.
Set the password and confirm it to complete the installation process.
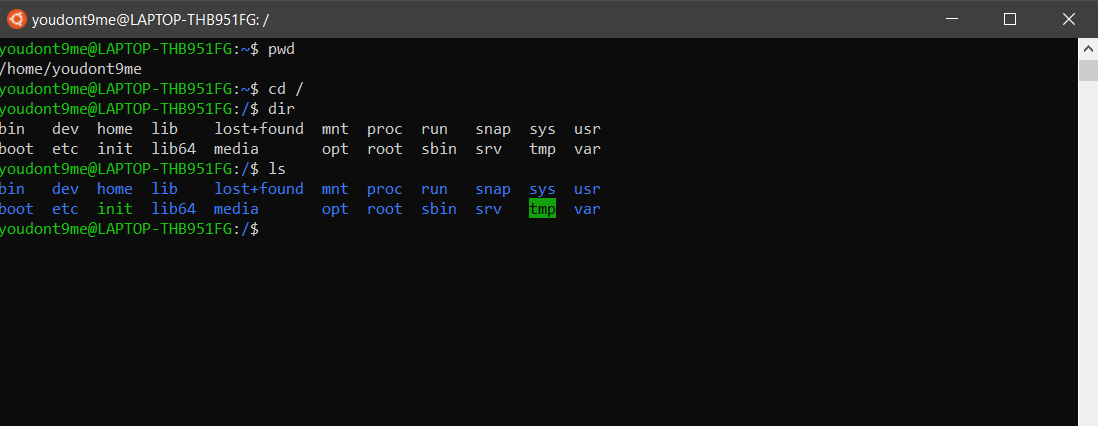
Now that you are all set to work with WSL , try running some common Linux commands in the Ubuntu terminal.
P.S.: I have attached the installation snapshots of 18.04 version as I had 20.04 preinstalled. The process is the same for both the versions. You can also run multiple versions in the same system.
Microsoft has this process well documented and it has some good tutorials too like integrating WSL with Virtual Studio Code. Find it here.
Conclusion
WSL has been around since 2016 and has proved to be reasonably stable. Besides supporting a wide range of Linux distributions, WSL also interacts with Windows, gives you a range of resources that are currently not feasible on Windows, and are free and easy to set up, why not give WSL a try?